mySMU is the commonly known url used to access Office 365, Canvas and many other Single Sign On applications. Though this is probably the most commonly recognized use case, our SMU branded portal is the entry point to an application, desktop virtualization and SSO solution from VMWare known as Horizon View.
The purpose of this quick guide is to familiarize the Faculty or Staff user with the methods available to connect to the virtual desktop environment (VDI) from outside of campus area networks.
Virtual Desktops offer a numberof benefits, among these being the ability to connect with internal resources and applications without the need for a vpn client.
The virtual desktop is essentially a corporate desktop operating system available in our private cloud with access to resources with a connectivity experience similar to being inside the network.
Users connect to a virtual desktop pool using either the web client or the Horizon View Client. Once authenticated, the user is allocated a virtual desktop (pool member) from a virtual desktop pool selected after login to mySMU.
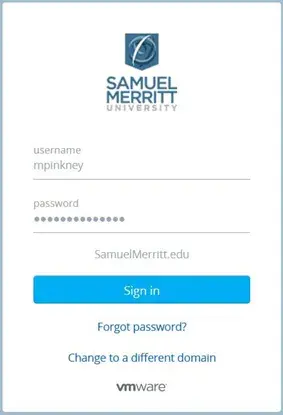
- Open a web browser and go to https://mysmu.samuelmerritt.edu then enter your Samuel Merritt University credentials and Sign In.
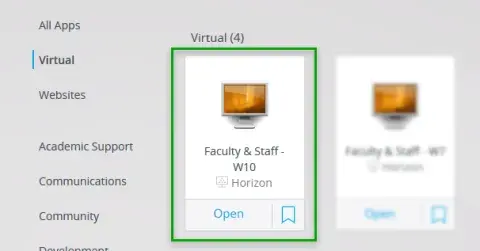
- From the mySMU page, select Virtual, and click Open on the virtual image you want to launch.
Employees should select the Faculty & Staff – W7 virtual desktop pool as shown:
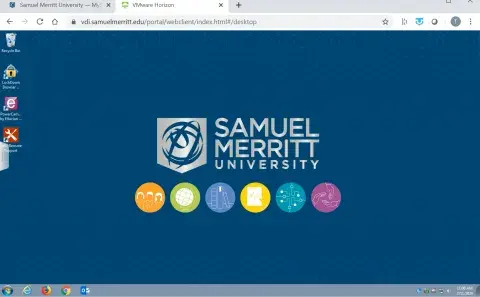
- Your virtual workspace opens. This may take a couple of minutes.
Note:
- The virtual workspace defaults to open in the browser, but if you experience problems or want to change to the client, please check your mySMU settings.
- The first time you log in you may be directed to the VDI page and will see the VMware Horizon options. You have a choice to install the client.
- We recommend installing the Horizon View client as it is more feature rich and provides improved performance over the browser client.
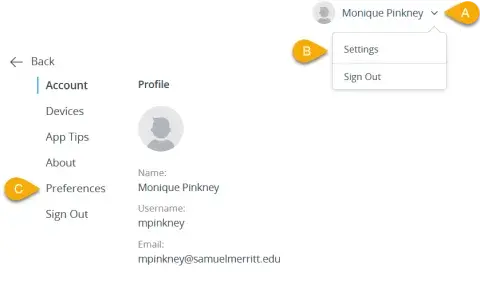
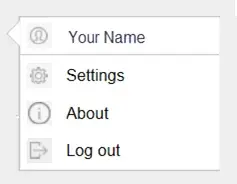
- From the mySMU page, click your name > Settings > Preferences.
- Ensure Browser is selected as your default if you are unable to install the Horizon Client.
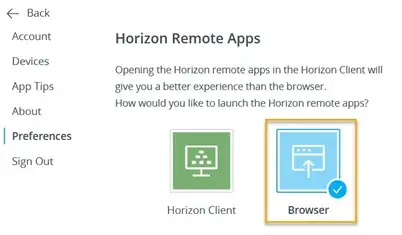
Note: If you have the client installed, select the HorizonClient.
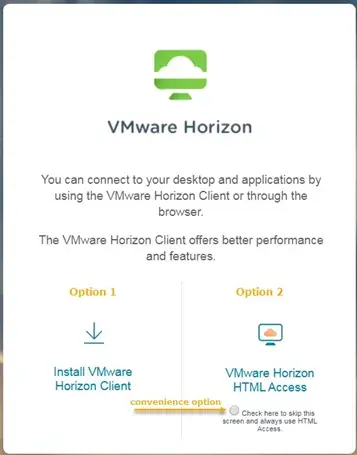
By default your virtual desktop will open in the browser. If you choose to work in the client, you will need to download it. If you have permission access to install programs on your computer, following the steps below. If you do not, please contact the SMU Support Desk.
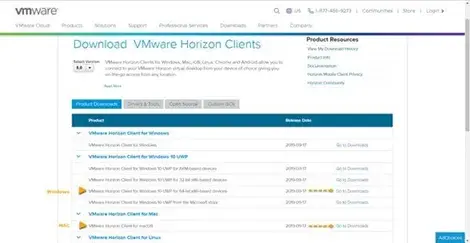
- From https://vdi.samuelmerritt.edu select InstallVMwareHorizonClient. The Download VMware Horizon Clients page opens.
- Select the appropriate download option.
- From the download page, click the
 button. The file download will take less than a minute.
 - Locate the installation file, double-click it to run the installation process.
- Open the VMware Horizon Client from your StartMenu.

- Ctrl+Alt+Delete to current work area … command
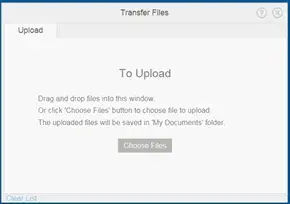
- Open File Transfer panel
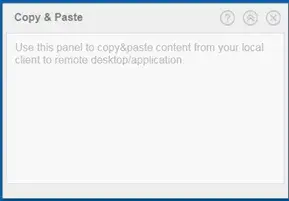
- Open Copy & Paste panel
- Open Menu
When you open My Computer from your virtual desktop, you will see different drives available. Examples are shown below with explanations.
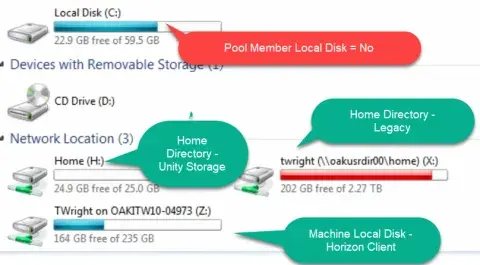
- Pool Member Local Disk: This is the System Drive of the Pool Member. Folders and files saved in the root of the C: drive will not persist between VDI sessions as the system partition is Read-Only.
- Home Directory – Unity Storage Array: Users are mapped this drive when they log on to a persistent VDI pool – Faculty & Staff W10. This storage location is a centrally located storage array in the Oakland Data Center specifically provisioned for use with VDI. Documents saved here are available between sessions. It is important to note that this location is only available with persistent desktop pools. The computer lab VDI pool is a Non-Persistent pool and no files or settings are saved at log off.
- Home Directory – Legacy: Users continue to receive this mapped network drive when they log on to VDI. Accounts are provisioned an "X" drive via group policy and this remains a valid storage location.
- Machine Local Disk – Horizon Client: This is the local hard disk of the machine which has the Horizon Client installed from which you have logged on to VDI. Some caution is advise here as you will not have documents available here if you log on from elsewhere unless saved to another location
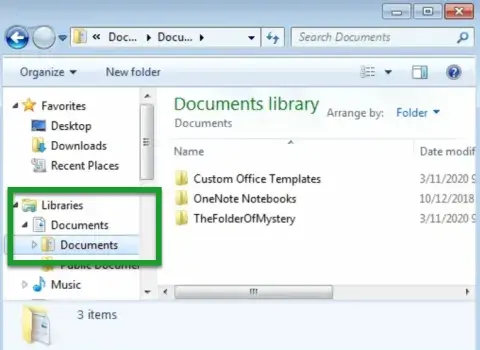
- Your 'Documents' folder on your VDI desktop. When logging on to a persistent pool, a managed desktop solution redirects your saved files in the documents folder to your Home Directory – Unity Storage (H: in above screenshot). Saved files persist between VDI sessions.
Simply browse to Libraries-> Documents on the virtual Desktop:
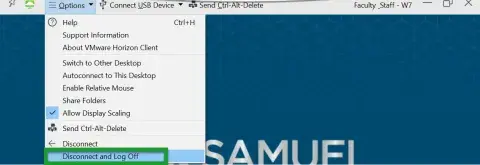
Option 1 – Options Menu – Horizon Client
When using the Horizon Client, this is the preferred method.
- Click the Option Menu Item from the Horizon Tool Bar
- Choose Disconnect and Log Off
Option 2 – Start Menu – Web Client, Horizon Client
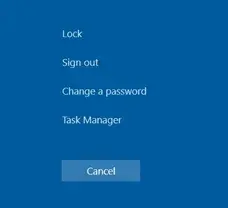
Click the Start button and then the power icon. 
- Select Shut down.
The Disconnected pop-up window appears.
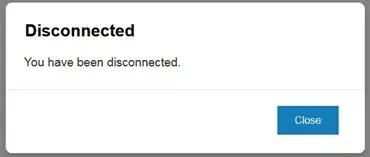
- Click Close and close your browser.
- Close your browser.
The Disconnected pop-up window appears.
- Click Close.
- Close your browser.
Option 3 – Horizon Toolbar – Web Client
- Click the Horizon toggle to display the toolbar.
- Click the Open Menu button.

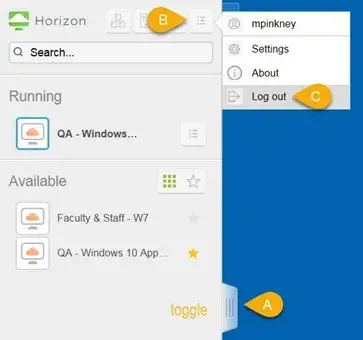
- Select Logout.
The Log Off pop-up window appears.
- Click OK.
You are logged off and the browser closes.
It is advisable to save your work and log off when you no longer need to use the virtual desktop. If you disconnect without logging off, you may return to your VDI session. After 120 minutes of inactivity, disconnected VDI sessions will be automatically logged off.
USB Pass Through – Horizon Client
The Horizon View Client supports printing to a local printer using a feature known as USB Pass Through.
If you have a usb printer installed on your computer running the horizon client, you can print to it from the virtual desktop. There is no need to install drivers on the VDI desktop as the printer is already installed on your computer. Example steps are shown below:
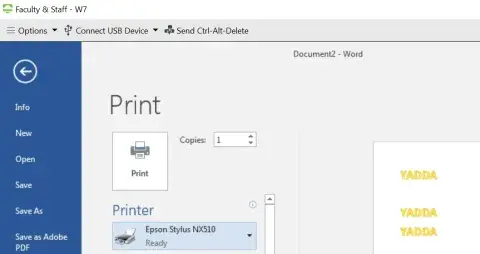
- Click the Connect USB Device option from the Horizon Client Toolbar – I select Seiko Epson USB2.0 MFP(Hi-Speed) as I recognize this device is my local home printer.

- I observe that my local Epson printer now shows in Devices and Printers.
- I can simply select this device as the print destination from any application using the File -> Print menu option.

How to right click on a Mac
Method 1:
If you are using a Mac laptop, clicking on the touch pad with two fingers will simulate a right click.
Method 2:
If you are using a Mac desktop or using a Mac mouse, holding the Control [Ctrl] key while clicking will also simulate a right click.
IT Service Desk is your single point of contact for technical services. The Service Desk hours are Monday to Friday 8 am to 6 pm. The quickest way to receive technical services is to submit a service request. Go to: https://support.samuelmerritt.edu/
You can also email or call 510.907.2555 (Option 1, service desk | Option 5, after hours).